First Layer
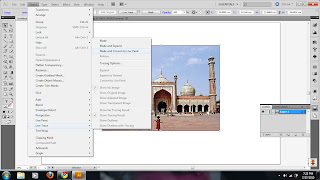
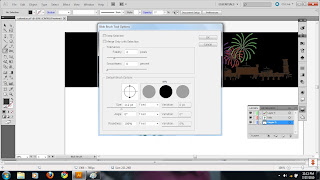
2nd step: I choose brown colour for mosque from the drop down button.

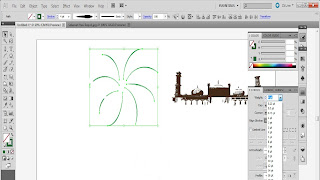 3rd step: I use 'Arc Tool' to make spark. I change the stroke to 4pt and the profile to make the arc thicker at the end. After that, copy the arc and paste it until I get the amount that I want. Then select all the arc and hold the 'ctrl' then press 'G' on the key board to make them in a group. I choose green colour for the spark. Copy another two spark and change the colour to red and purple then resize the spark.
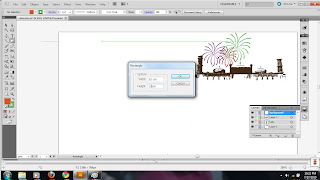
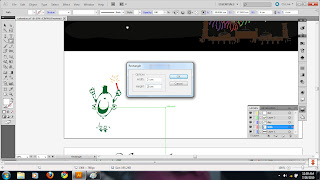
4th step: I use rectangle tool, change the width to 52cm and height to 12cm. T
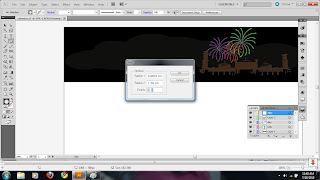
hen I choose black colour to make it as mosque background. I add some little star on the rectangle by using star tool. I use 'Blob Brush tool' and make the shape like a cloud and change the opacity to 27% to make the sky look like brighter.
Second Layer
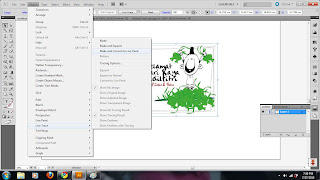
5th step: Import the original picture of kid, click 'object' from menu bar, choose 'live trace' , 'make and convert to paint'. Then copy the kid figure and change the colour to blue.
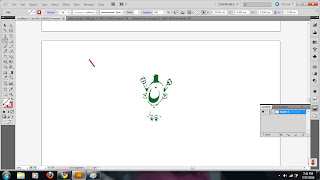

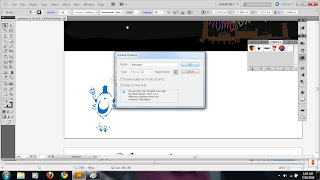 6th step: I use line tool to make a firework, I change the stroke to 7pt and the colour to red. To make ketupat or rice cake, I use rectangle tool (2cm x2cm) and rotate it clockwise to make the diamond shape. I use warp tool to make some curve to the angle then fill the basic CMYK colour. Then make the ketupat as a symbol because I want to use it several time.
Third Layer
.jpg)
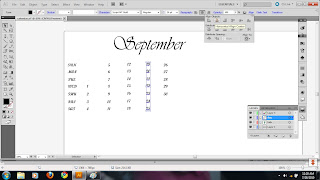
7th step: I use 'Type Tool' and choose Vivaldi Italic as a font for the text (September) and I change it to 120pt. I choose Script MT Bold for the date and day font. I use horizontal and vertical align center to make them straight and change the colour. I use the blue colour to highlight the date that Hari Raya fall into.
p/s: please correct me if i do wrong
Second Layer
5th step: Import the original picture of kid, click 'object' from menu bar, choose 'live trace' , 'make and convert to paint'. Then copy the kid figure and change the colour to blue.
 6th step: I use line tool to make a firework, I change the stroke to 7pt and the colour to red. To make ketupat or rice cake, I use rectangle tool (2cm x2cm) and rotate it clockwise to make the diamond shape. I use warp tool to make some curve to the angle then fill the basic CMYK colour. Then make the ketupat as a symbol because I want to use it several time.
Third Layer
7th step: I use 'Type Tool' and choose Vivaldi Italic as a font for the text (September) and I change it to 120pt. I choose Script MT Bold for the date and day font. I use horizontal and vertical align center to make them straight and change the colour. I use the blue colour to highlight the date that Hari Raya fall into.
p/s: please correct me if i do wrong
No comments:
Post a Comment