I took the FOM picture by my own with some help from my friend (thanks to him because give me a chance to borrow his camera).
These are my references for other materials:


Students are to create a digital image as a wall paper. The event or theme is MMU FOM Open day dated March 21st, 2011.
As such, students are to create a poster to show the characteristics or features of FOM to advertise or to promote their faculty. The size of the wallpaper will be A4.


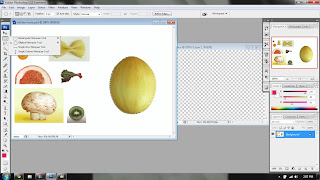
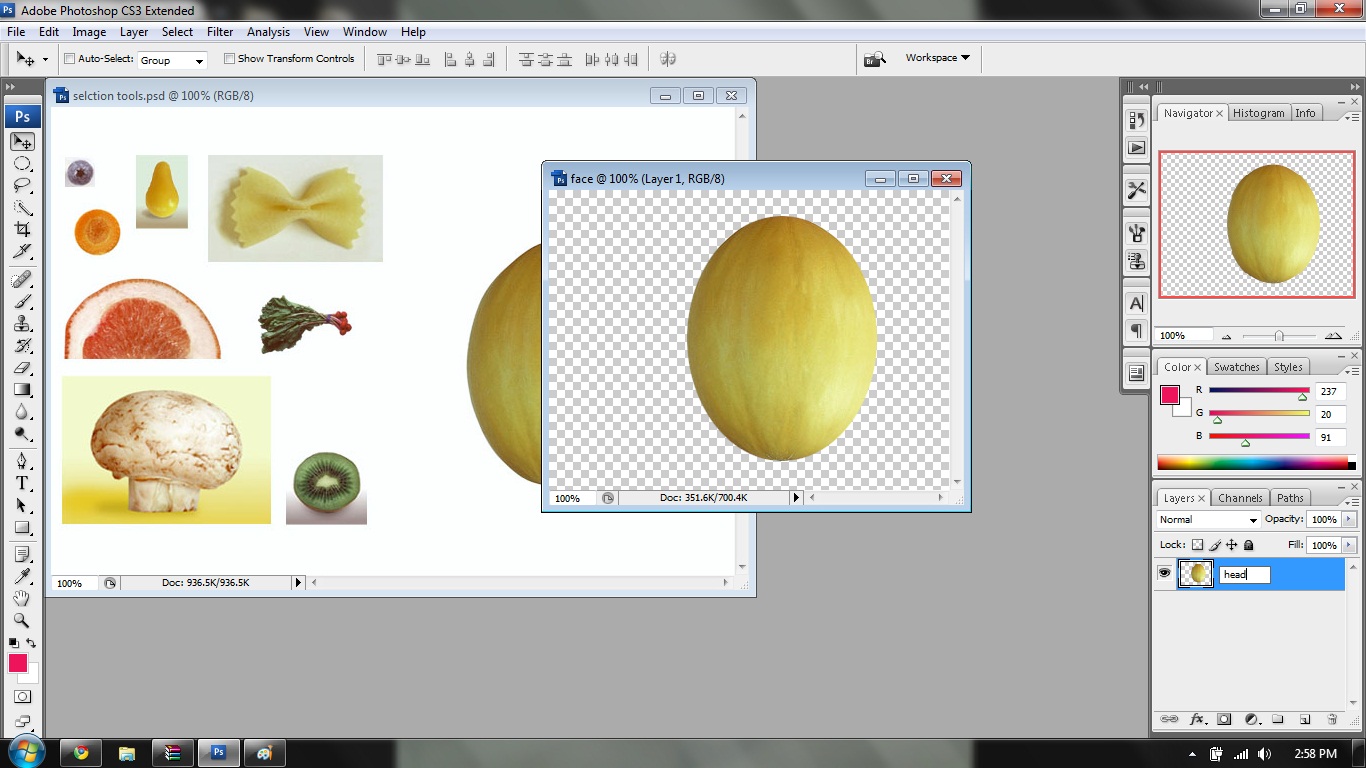
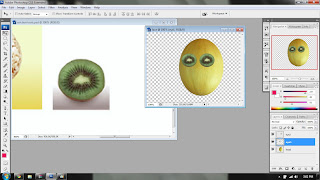
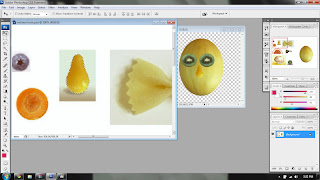
 Step 1: I make a new A4 size layer, colour background (navy blue) as a background. I use 'Rectangular Marque Tool' and 'Elliptical Marque Tool' to select the pictures and hold 'Alt' to copy it into my new background. Then press 'Ctrl T' to resize the pictures.
 Step 2: For the FOM monument, I use 'Polygonal Lasso Tool' because I only want to select the blue area. Then, hold 'Alt' and drag it into background file.
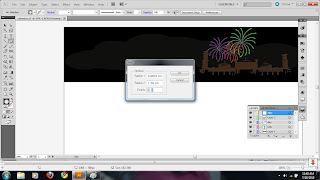
 Step 3: I use 'Line Tool' and 'Ellipse Tool' to make the line that connecting the FOM monument to each pictures.
 Step 4: Select the pictures layer (except FOMcafe layer) and I change the 'Blending Mode' to 'Hard Light'. Now, the pictures look darker than before. For FOM monument layer, I set the blending mode to 'Lighten' to make the picture more bright.
 Step 5: I use 'Horizontal Type Tool' and choose ISOCTEUR as font for the text (Date and Tagline) and Footlight MT Light for the title and I choose gray for the colour.


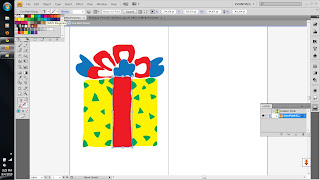

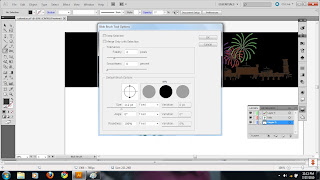
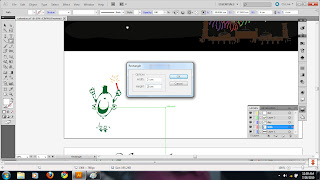
 2nd step: I use 'rectangle tool' and choose brown CMYK color. Then, right click it, choose 'arrange' - 'bring to back' to make it as a background.
 3rd step: Use 'type tool' to make 'Happy Birthday' word. I choose 'Ravie' and magenta color for the font. I change the size to 60 pt.


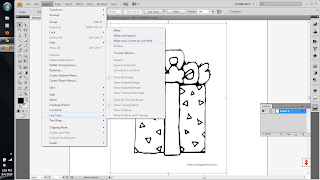
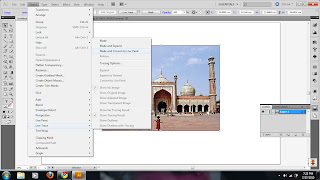
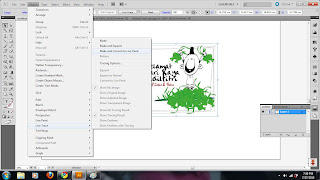
 1st step: This step is like 1st step in layer 1. Import the original picture of cake, I click 'object' from menu bar,choose 'live trace' , 'make and convert to paint'. Double click at this picture to make them in 'isolation mode'. Then I choose brown, pink and orange CMYK color for this cake. Select all the picture, then hold 'Ctrl' then press 'G' to make it in a group.
  2nd step: use 'arc tool' to draw a path, use 'type tool' and click it right on the path to make the word (Happy Birthday) looks like a curve. Then, drag it onto the cake.
 3rd step: same step as 1st step.
 4th step: select the cake, and change the opacity to 50% to make it a little bit blur.
 Source: http://t2.gstatic.com/images?q=tbn:T-9WCtqSF23VGM:http://i528.photobucket.com/albums/dd321/tweety_48_bucket/birthday%20wishes/2vaoak7.gif&t=1
 Source: http://rlv.zcache.com/birthday_cake_postcard-p239818291454062249trdg_400.jpg
 Source: http://www.dragoart.com/tuts/pics/9/952/4308/how-to-draw-a-simple-birthday-cake-step-4.jpg
Source: http://www.birthdaycelebrations.net/malaysianbirthdays.htm


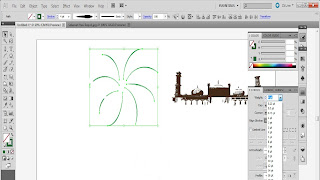 3rd step: I use 'Arc Tool' to make spark. I change the stroke to 4pt and the profile to make the arc thicker at the end. After that, copy the arc and paste it until I get the amount that I want. Then select all the arc and hold the 'ctrl' then press 'G' on the key board to make them in a group. I choose green colour for the spark. Copy another two spark and change the colour to red and purple then resize the spark.
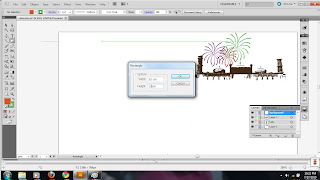

 6th step: I use line tool to make a firework, I change the stroke to 7pt and the colour to red. To make ketupat or rice cake, I use rectangle tool (2cm x2cm) and rotate it clockwise to make the diamond shape. I use warp tool to make some curve to the angle then fill the basic CMYK colour. Then make the ketupat as a symbol because I want to use it several time.
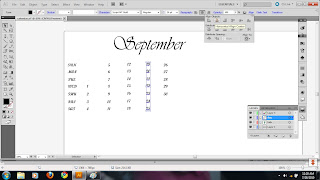.jpg)


