Layer 1
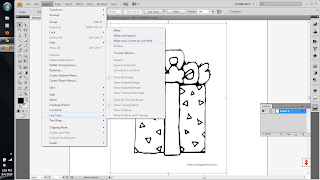
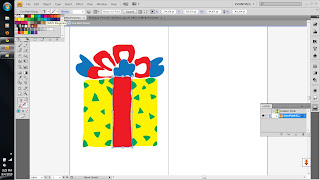

1st step: Import the original picture of present, I click 'object' from menu bar,choose 'live trace' , 'make and convert to paint'. Double click at this picture to make them in 'isolation mode'. Then I choose yellow, red, blue and green CMYK color for this present. Select all the picture, then hold 'Ctrl' then press 'G' to make it in a group. Copy this present, and change the color again, to make it different.
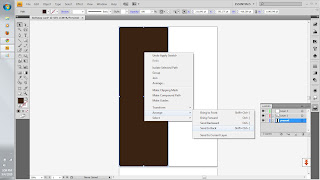 2nd step: I use 'rectangle tool' and choose brown CMYK color. Then, right click it, choose 'arrange' - 'bring to back' to make it as a background.
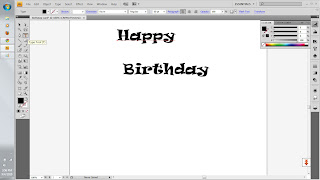 3rd step: Use 'type tool' to make 'Happy Birthday' word. I choose 'Ravie' and magenta color for the font. I change the size to 60 pt.
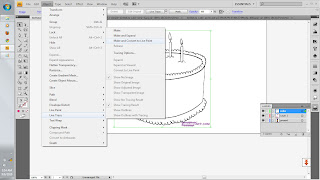
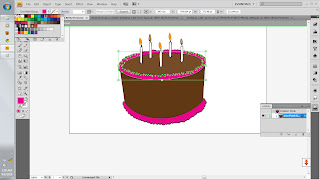 1st step: This step is like 1st step in layer 1. Import the original picture of cake, I click 'object' from menu bar,choose 'live trace' , 'make and convert to paint'. Double click at this picture to make them in 'isolation mode'. Then I choose brown, pink and orange CMYK color for this cake. Select all the picture, then hold 'Ctrl' then press 'G' to make it in a group.
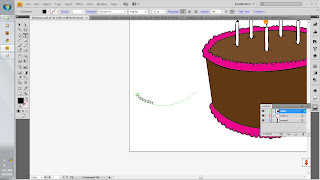 2nd step: use 'arc tool' to draw a path, use 'type tool' and click it right on the path to make the word (Happy Birthday) looks like a curve. Then, drag it onto the cake.
 3rd step: same step as 1st step.
 4th step: select the cake, and change the opacity to 50% to make it a little bit blur.
p/s: please correct me if i do wrong
 2nd step: I use 'rectangle tool' and choose brown CMYK color. Then, right click it, choose 'arrange' - 'bring to back' to make it as a background.
 3rd step: Use 'type tool' to make 'Happy Birthday' word. I choose 'Ravie' and magenta color for the font. I change the size to 60 pt.
Layer 2


1st step: Use "type tool' again to make the wishes, this time, i choose ScriptS as for font and change the color to pink and the size to 36pt. Then, I click 'align center' to make it more nice.
Layer 3

 1st step: This step is like 1st step in layer 1. Import the original picture of cake, I click 'object' from menu bar,choose 'live trace' , 'make and convert to paint'. Double click at this picture to make them in 'isolation mode'. Then I choose brown, pink and orange CMYK color for this cake. Select all the picture, then hold 'Ctrl' then press 'G' to make it in a group.
  2nd step: use 'arc tool' to draw a path, use 'type tool' and click it right on the path to make the word (Happy Birthday) looks like a curve. Then, drag it onto the cake.
 3rd step: same step as 1st step.
 4th step: select the cake, and change the opacity to 50% to make it a little bit blur.
p/s: please correct me if i do wrong
No comments:
Post a Comment