 Step 1: Hold 'Ctrl' and press 'N' to make a new A3 size file. Click 'View' on menu bar to show the ruler. Then I divide it into two side by using 'Line Tool'.

 Step 2: Hold 'Ctrl'+ O to open the new images (bride/bridegroom, man ring, woman ring). I use 'Rectangular Marquee Tool' to select the image of bride/bridegroom. For both of rings I use 'Quick Selection Tool' to select them.
 Step 3: After I select the rings, I want to make them as a one picture, so, I click 'Ctrl +T' to resize the woman ring image to make it fit into the man ring and intersect with each other. Then, I right click at the ring layer, choose 'Merge Down' to make them as one.
 Step 4: I click 'Filter' from the menu bar, choose 'Blur'-'Lens Blur' then I change the 'Radius' into 11 to make the picture a bit blur.
 Step 5: I click 'Layer' from menu bar, choose 'New Adjustment Layer'-'Colour Balance' and change the colour level to make the picture more magenta and red looks.
  Step 6: As for the wording, I use 'Type Tool' and choose 'Mistral'-36pt for the font.
 Step 7: I use 'Quick Selection Tool' and set the brush diameter to 47 to select the lace. Then hold 'Alt+drag' to copy the image, click 'Edit' from the menu bar, 'Transform' and choose 'Rotate 90CW' to change the lace position. After that, copy the top lace to make the bottom lace, and copy the right lace to make the other side lace. Arrange the laces to make it look like a picture frame.
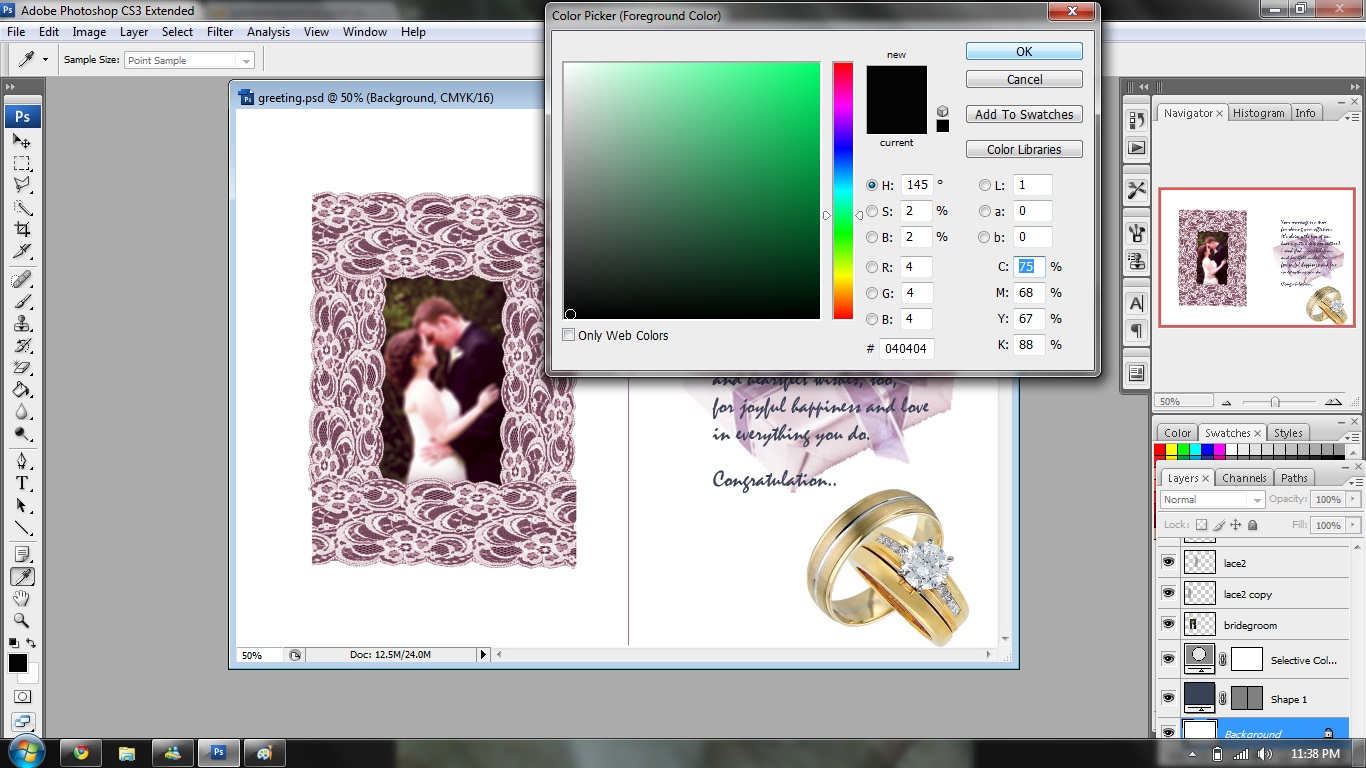 Step 8: I want to change the background color, so, I select the background layer, I choose black color from the color picker, and using 'Paint Bucket Tool' to color the background.
 Step 9: After I change the background color, the greeting is not so visible, so I change the 'Layer Style' of the greeting. I add 'Drop Shadow' + 'Bevel and Emboss' +'Contour' to make it more outstanding.


 Step 10: I open the new image (present) by clicking 'Ctrl+O' then, by using 'Quick Selection Tool' I select the image. I use 'Magic Eraser Tool' to erase the white color between the ribbon- it's quite hard to select the perfect clean image. Then to make the image more tidy, I use 'Blur Tool' and click it at the present box surrounding. After that, I click 'Layer' from the menu bar, choose 'New Adjustment Layer' - 'Selective Color' , then I adjust the color to make it less magenta, cyan and black, but more yellow. Now the color changed to gold color.
 Step 11: By using 'Type Tool' I add the "Congratulations" word on the top of card. I choose the same font as the greeting but I change the size to 72pt. I also change the color - to make the color like the present color, I use 'Eyedropper Tool' and click it at the present box and automatically the color changed. Lastly, to make the word more outstanding, I change the layer style by adding 'Inner Shadow'.
p/s: please correct me if i do wrong
wonderful blog, its very easy to follow, you are giving a beautiful teaching. Thank You so much.
ReplyDeletematrimonial sites
tamil matrimony
TQ, I'm just doing my assignment.. :D
ReplyDelete